展厅设计公司选四度科技武汉好的seo优化网
文章目录
- Elasticsearch 部署学习
- 1. 单节点部署 elasticsearch
- 1.1 部署 jdk
- 1.2 下载 elasticsearch
- 1.3 上传文件并修改配置文件
- 1.4 启动
- 1.5 问题总结
- 1.6 浏览器验证
- 2. 集群部署 elasticsearch
- 3. 常用命令
- 4. Elasticsearch kibana安装
- :one: 参考部署文档
- :two: 下载对应版本的安装包
- :three: 修改配置文件
- :four: 启动 kibana
- :five: 注意
- :six: 浏览器访问
- 5. kibana 使用教程
Elasticsearch 部署学习
1. 单节点部署 elasticsearch
1.1 部署 jdk
安装ES之前先安装好jdk,可以简单实用如下命令:
yum install -y java-1.8.0-openjdk.x86_64
或者参考:https://blog.csdn.net/D1179869625/article/details/125491228?ops_request_misc=&request_id=de79eea3684a4ea28adfe9663c700ce2&biz_id=&utm_medium=distribute.pc_search_result.none-task-blog-2blogkoosearch~default-3-125491228-null-null.268v1control&utm_term=jdk&spm=1018.2226.3001.4450
官网下载地址:
http://www.oracle.com/technetwork/java/javase/downloads/java-archive-downloads-javase7-521261.html#jdk-7u80-oth-JPR
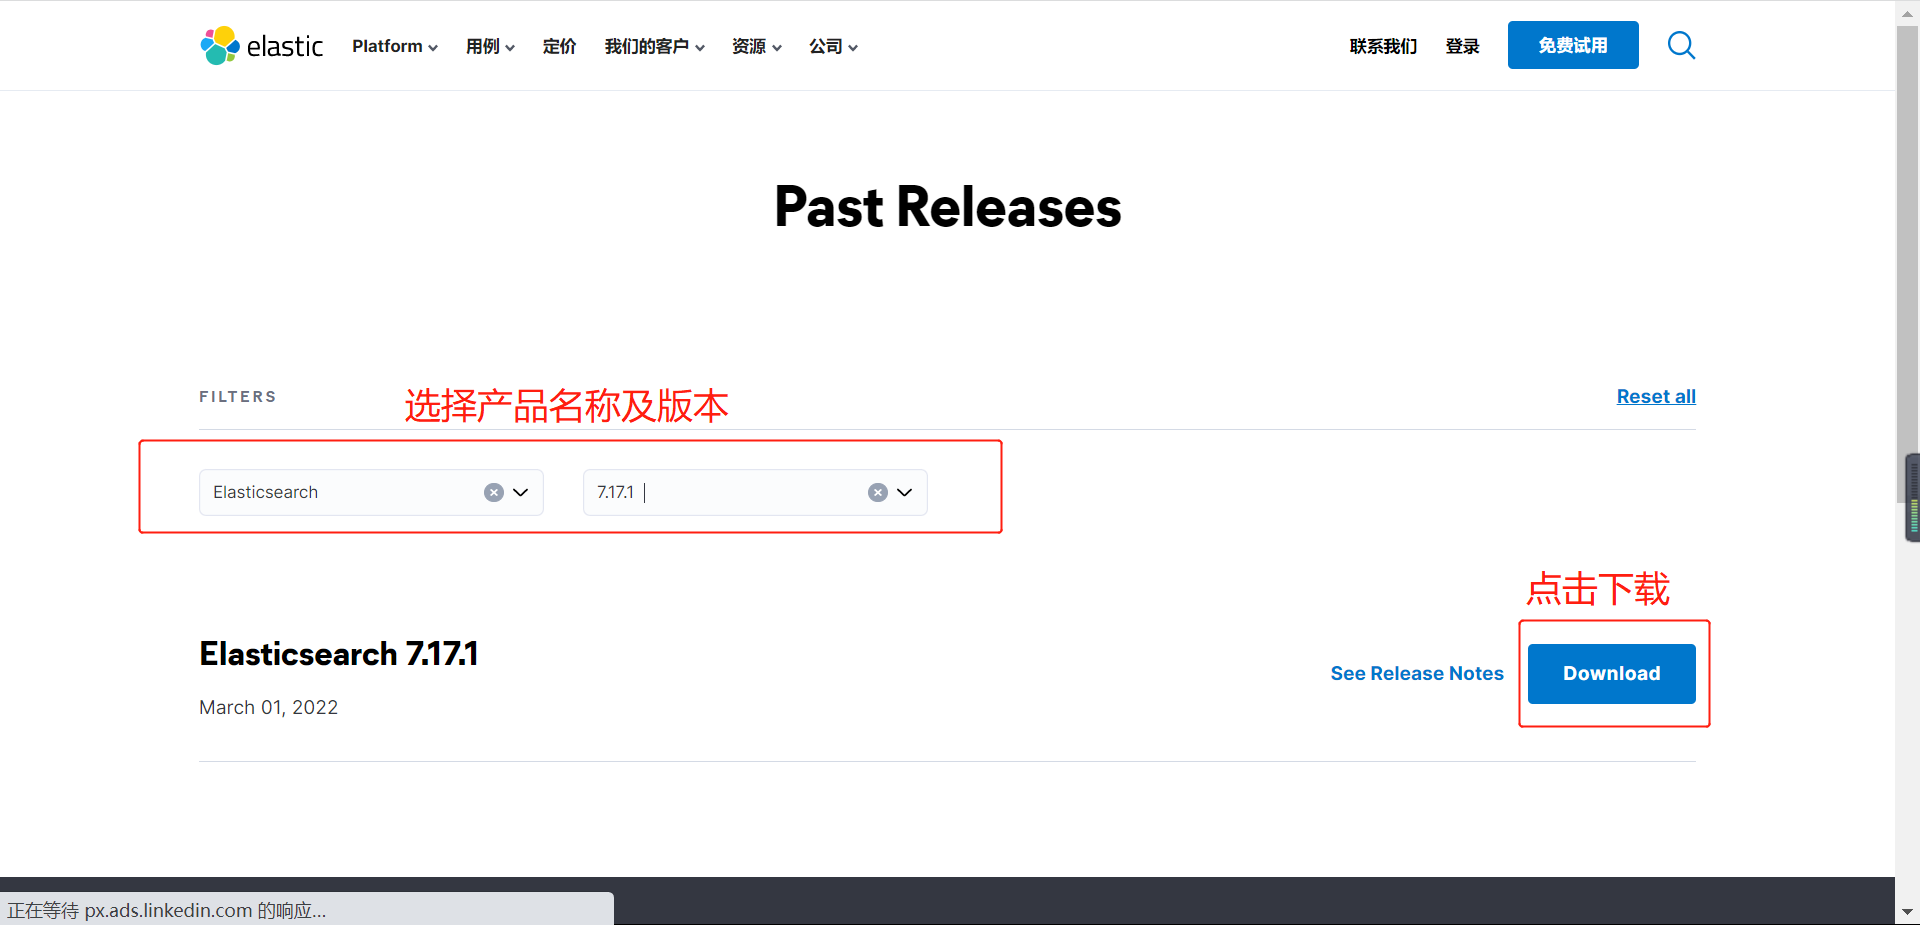
1.2 下载 elasticsearch
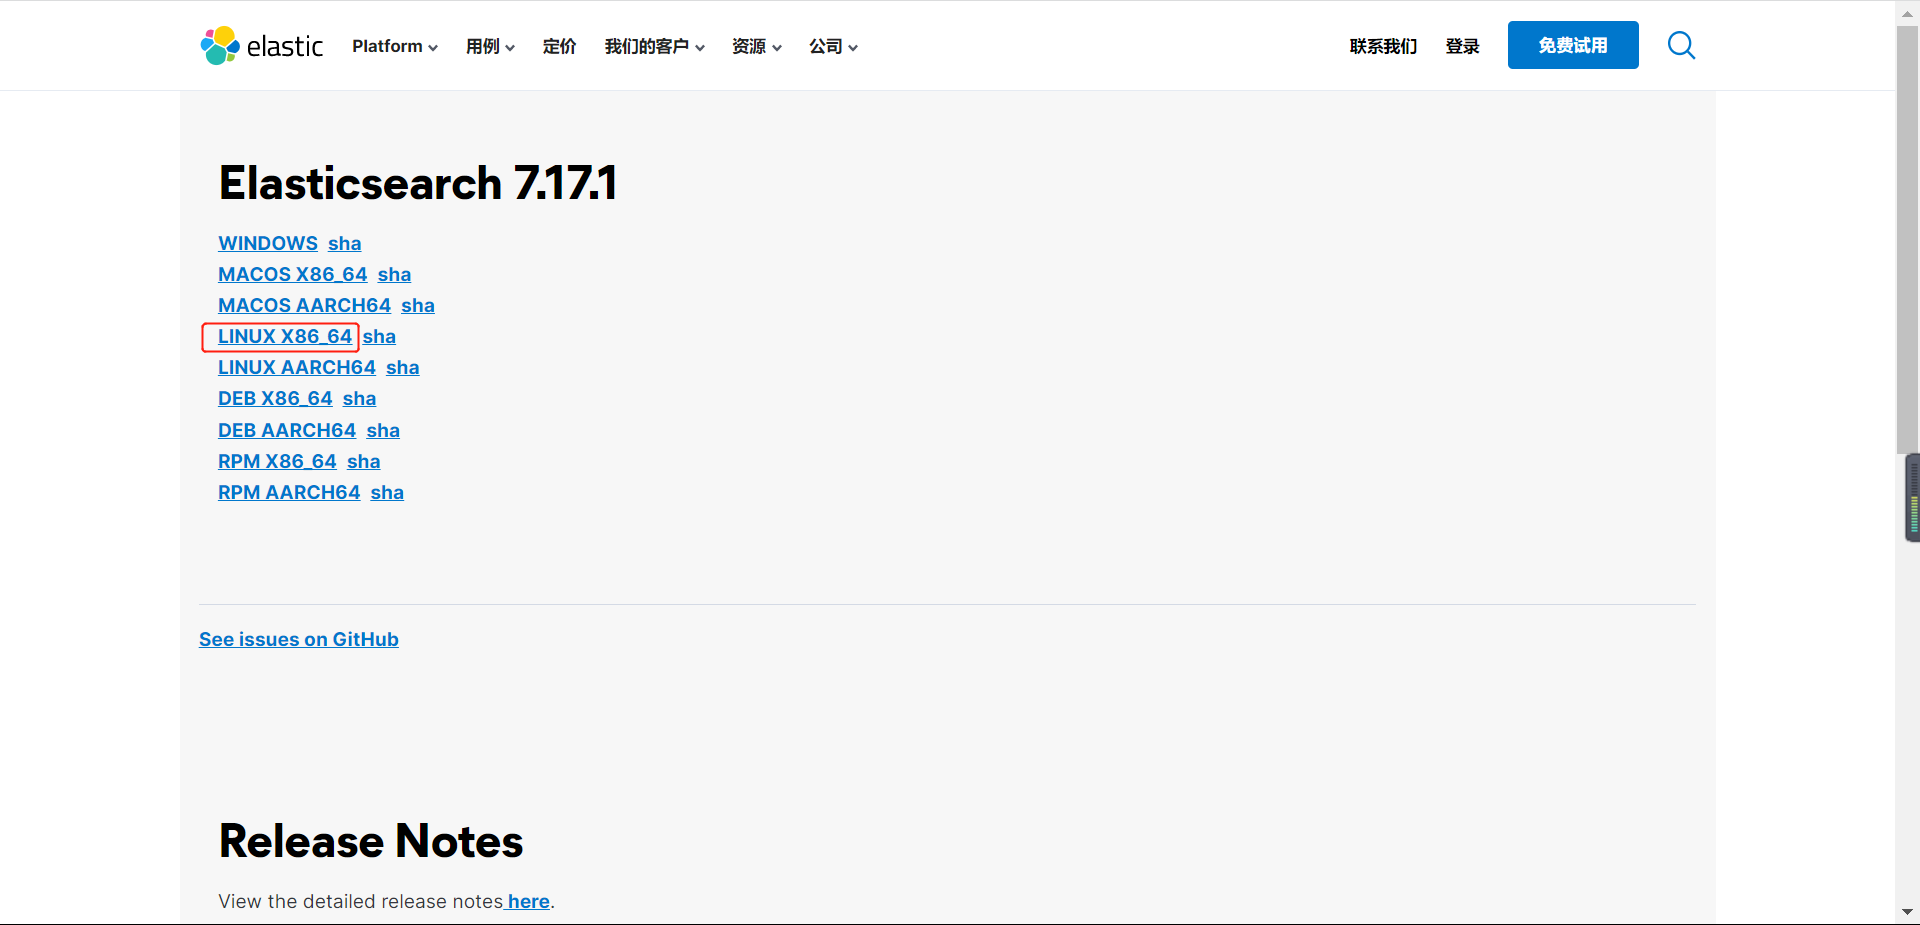
官网下载地址:https://www.elastic.co/cn/downloads/past-releases
1.3 上传文件并修改配置文件
1️⃣ 上传到指定目录下并解压
[root@node2 elasticsearch]# pwd
/data/elasticsearch
[root@node2 elasticsearch]# tar zxvf elasticsearch-7.17.1-linux-x86_64.tar.gz
2️⃣ 新建数据目录
[root@node2 elasticsearch]# cd elasticsearch-7.17.1
[root@node2 elasticsearch-7.17.1]# mkdir data
3️⃣ 修改 elasticsearch.yml 配置文件
# 修改 config 目录下的 elasticsearch.yml 文件
cluster.name                         #集群名称,各节点配成相同的集群名称。
node.name                            #节点名称,各节点配置不同。
node.master                          #指示某个节点是否符合成为主节点的条件。
node.data                            #指示节点是否为数据节点。数据节点包含并管理索引的一部分。
path.data                            #数据存储目录。
path.logs                            #日志存储目录。
bootstrap.memory_lock                #内存锁定,是否禁用交换。
bootstrap.system_call_filter         #系统调用过滤器。
network.host                         #绑定节点IP。
http.port                            #rest api端口。
discovery.zen.ping.unicast.hosts     #提供其他 Elasticsearch 服务节点的单点广播发现功能。(单机部署时如果使用 localhost ,日志会报错“拒绝连接”,修改为IP地址没有报错)
discovery.zen.minimum_master_nodes   #集群中可工作的具有Master节点资格的最小数量,官方的推荐值是(N/2)+1,其中N是具有master资格的节点的数量。
discovery.zen.ping_timeout           #节点在发现过程中的等待时间。
discovery.zen.fd.ping_retries        #节点发现重试次数。
http.cors.enabled                    #是否允许跨源 REST 请求,用于允许head插件访问ES。
http.cors.allow-origin               #允许的源地址。

4️⃣ 修改系统配置文件
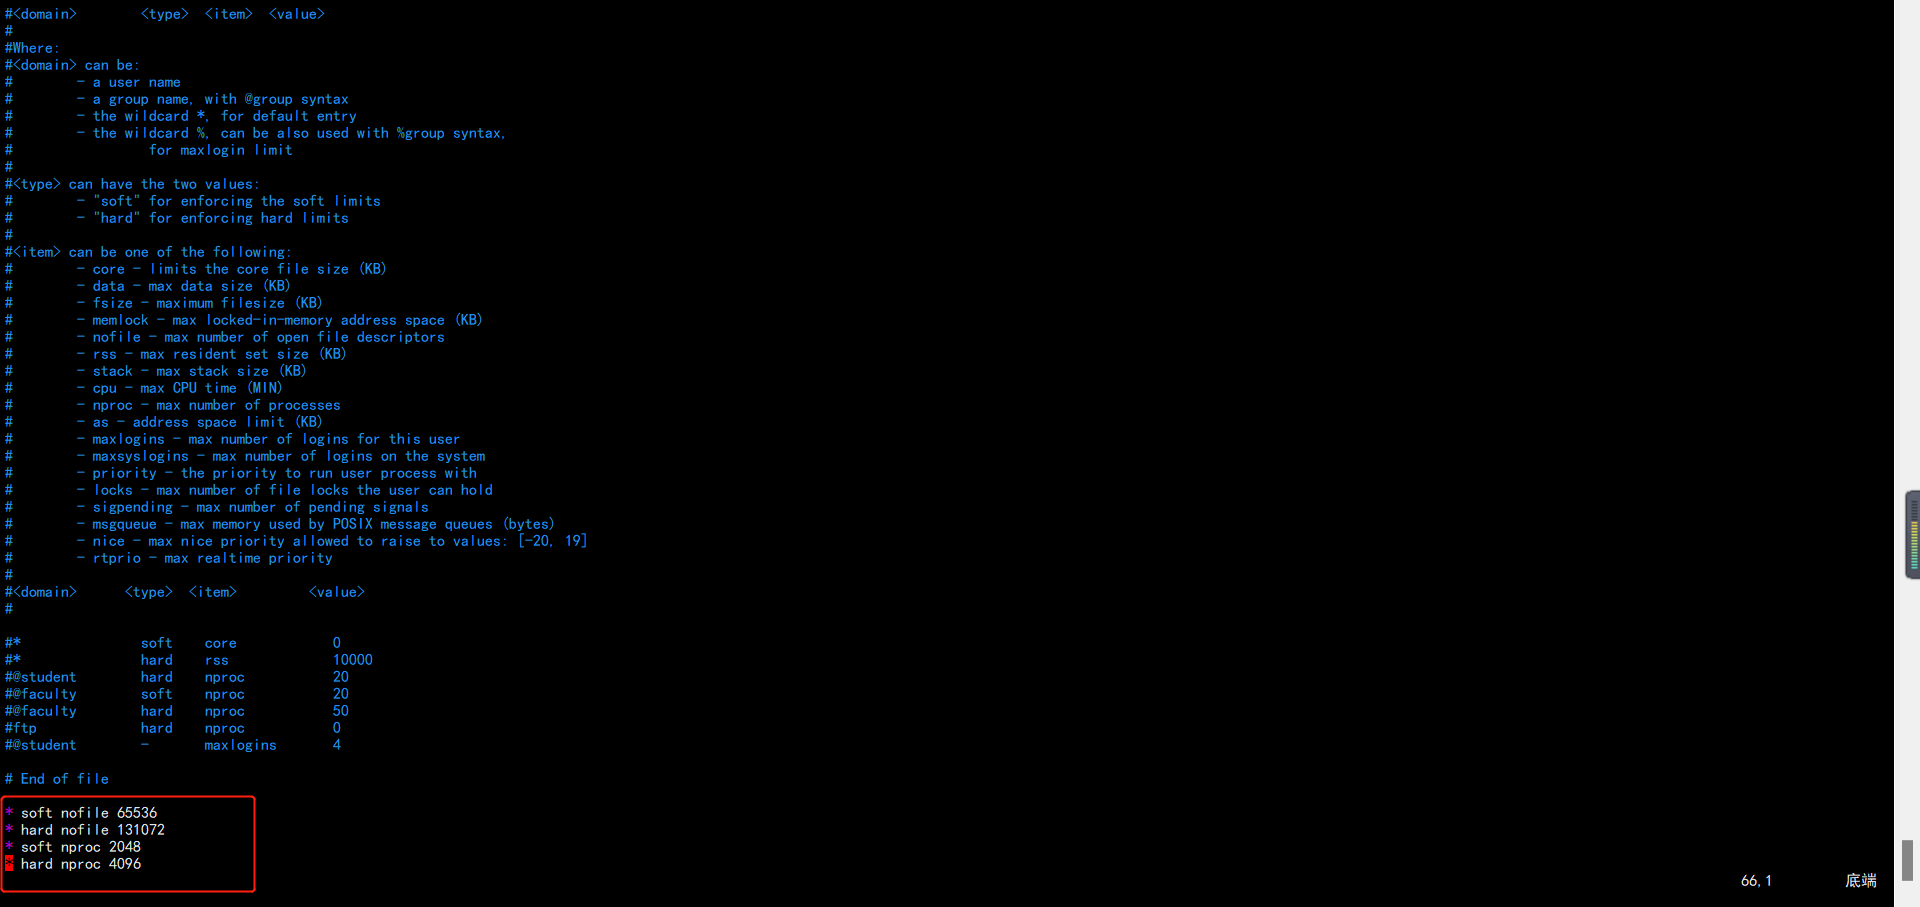
vi /etc/security/limits.conf
添加如下内容:
* soft nofile 65536
* hard nofile 131072
* soft nproc 2048
* hard nproc 4096
vim /etc/sysctl.conf
vm.max_map_count=655360# 修改完成执行命令生效
sysctl -p

1.4 启动
注:es 不允许使用 root 启动,所以需要新建用户
# 新建用户组
groupadd -g 988 elastic# 新建用户
useradd -u 988  -g 988 elastic# 查看新建用户信息
id elastic
uid=988(elastic) gid=988(elastic) 组=988(elastic)# 修改 elasticsearch 目录权限
cd /data
chown -R elastic:elastic elasticsearch
# 切换用户
su - elastic
# 后台启动
cd /data/elasticsearch/elasticsearch-7.17.1/bin
./elasticsearch -d
1.5 问题总结
1️⃣ 没有修改系统配置文件则会报错
现象:
[2023-06-19T19:11:29,573][ERROR][o.e.b.Bootstrap          ] [node-1] node validation exception
[1] bootstrap checks failed. You must address the points described in the following [1] lines before starting Elasticsearch.
bootstrap check failure [1] of [1]: max file descriptors [4096] for elasticsearch process is too low, increase to at least [65535]
解决方法:
vi /etc/security/limits.conf
添加如下内容:
* soft nofile 65536
* hard nofile 131072
* soft nproc 2048
* hard nproc 4096vim /etc/sysctl.conf
vm.max_map_count=655360# 修改完成执行命令生效
sysctl -p
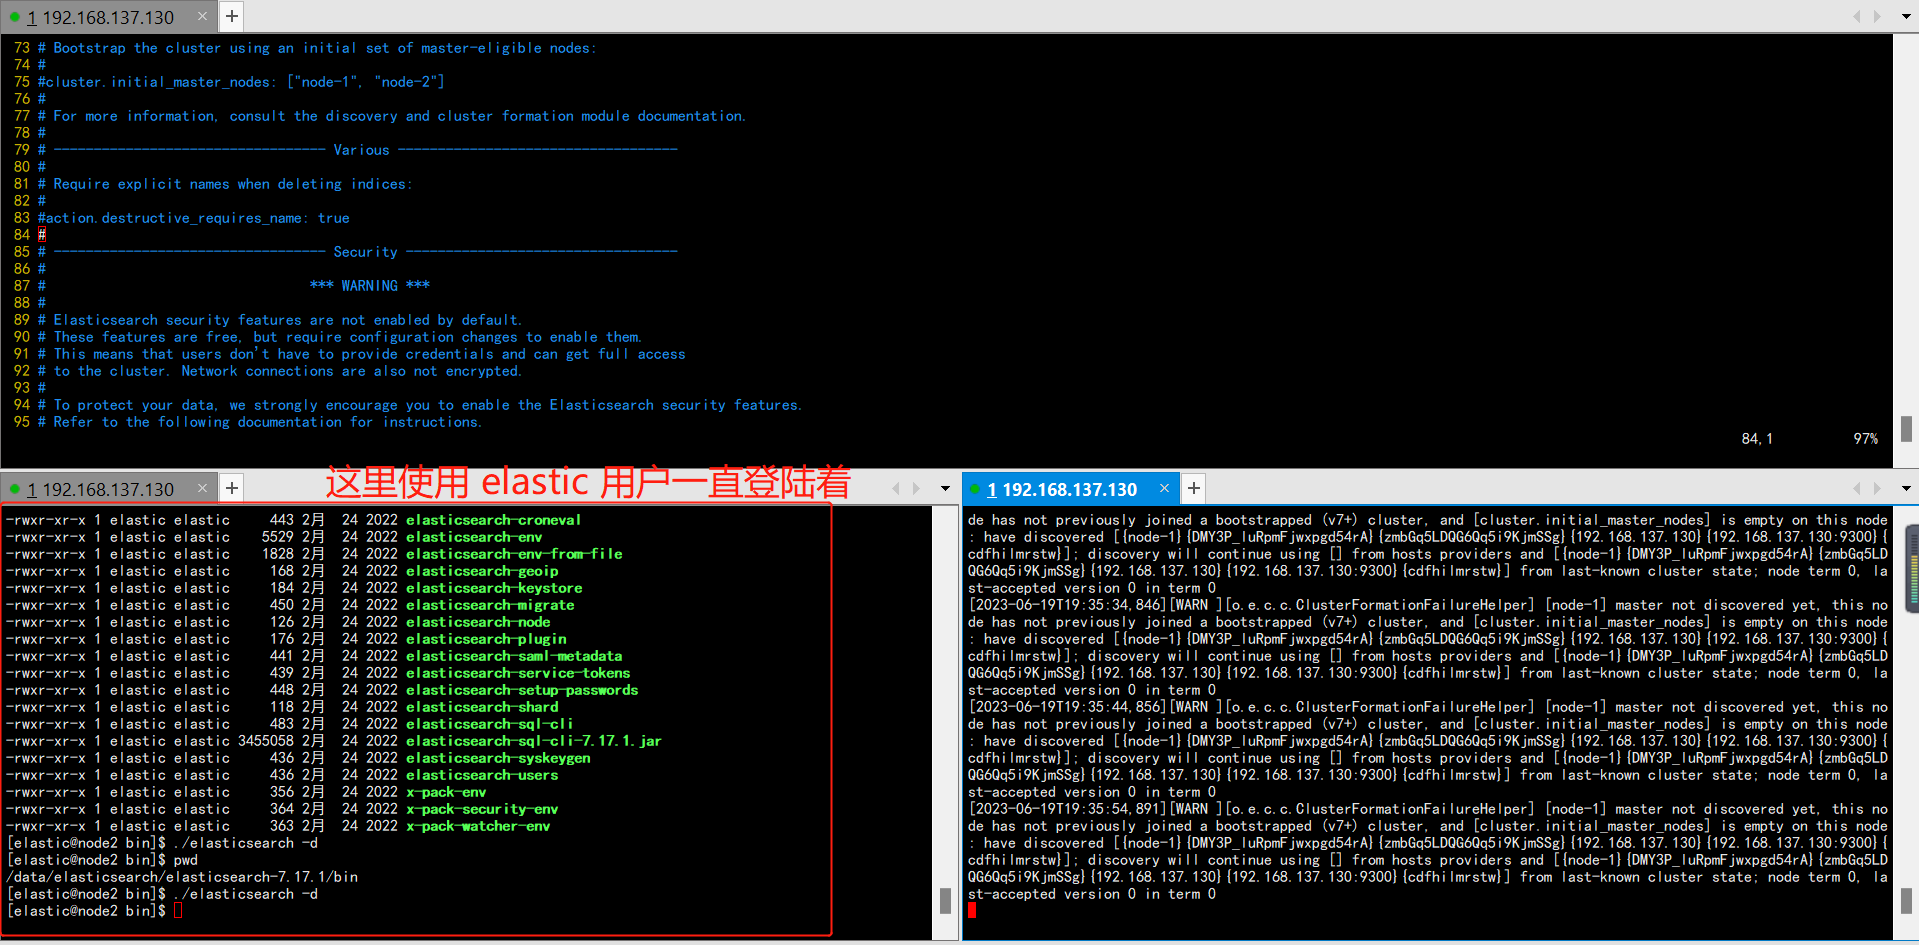
2️⃣ 当前操作是在多个窗口进行操作, 在一个窗口中一直使用 elastic 用户一直登陆着,在其他窗口中使用 root 修改完成配置文件之后,没有登出 elastic 普通用户,那么使用 elastic 用户在启动时仍然会报错,因为没有重新登陆则获取不到新修改的环境信息。
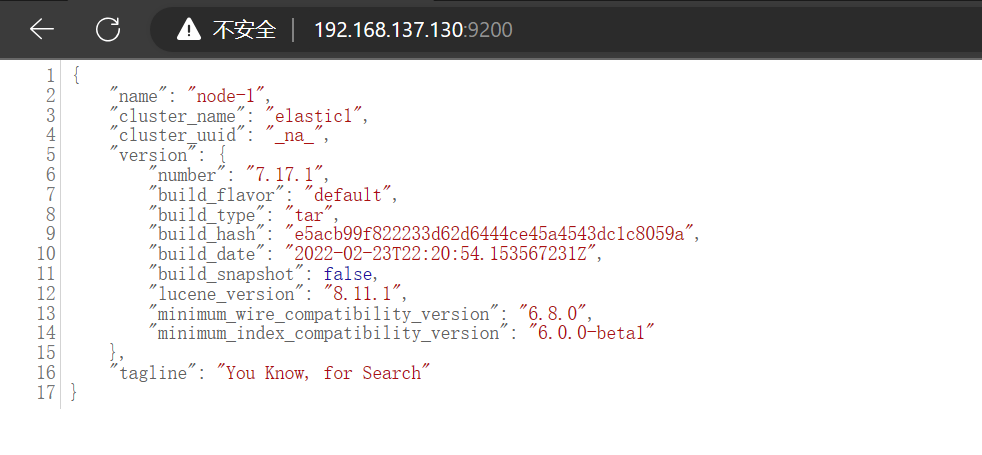
1.6 浏览器验证
浏览器输入:192.168.137.130:9200
2. 集群部署 elasticsearch
当前测试使用三台机器部署 es 集群
# 配置文件参数说明
# 集群名称,可以不用变,所有机器使用同一个名称
cluster.name: my-application# 每台机器使用不同的名称,其他机器可依次命名为(node-2,node-3)
node.name: node-1# data 数据目录
path.data: /home/softinstall/elasticsearch-5.2.2/data# log 日志目录
path.logs: /home/softinstall/elasticsearch-5.2.2/logs# ES默认bootstrap.system_call_filter为true进行检测,如果当前环境不支持SecComp则启动 es 会报错
bootstrap.memory_lock: false
bootstrap.system_call_filter: false# 这里填写当前主机的 IP
network.host: 192.168.18.128# 端口
http.port: 9200# 集群地址
discovery.zen.ping.unicast.hosts: ["192.168.18.128","192.168.18.129","192.168.18.130"]# master 的数量,可百度查看参数详细使用情况
discovery.zen.minimum_master_nodes: 2# 指定master机器的选项(个人理解就是重启之后 master 机器也只会在这两台机器中选择,配合上面 discovery.zen.minimum_master_nodes 参数使用)
cluster.initial_master_nodes: ["node-1", "node-2"]
# ======================== Elasticsearch Configuration =========================
#
# NOTE: Elasticsearch comes with reasonable defaults for most settings.
# Before you set out to tweak and tune the configuration, make sure you
# understand what are you trying to accomplish and the consequences.
#
# The primary way of configuring a node is via this file. This template lists
# the most important settings you may want to configure for a production cluster.
#
# Please consult the documentation for further information on configuration options:
# https://www.elastic.co/guide/en/elasticsearch/reference/index.html
#
# ---------------------------------- Cluster -----------------------------------
#
# Use a descriptive name for your cluster:
#
cluster.name: my-application
#
# ------------------------------------ Node ------------------------------------
#
# Use a descriptive name for the node:
#
node.name: node-1
#
# Add custom attributes to the node:
#
#node.attr.rack: r1
#
# ----------------------------------- Paths ------------------------------------
#
# Path to directory where to store the data (separate multiple locations by comma):
#
path.data: /data/elasticsearch/elasticsearch-7.17.1/data
#
# Path to log files:
#
path.logs: /data/elasticsearch/elasticsearch-7.17.1/logs
#
# ----------------------------------- Memory -----------------------------------
#
# Lock the memory on startup:
#
bootstrap.memory_lock: false
bootstrap.system_call_filter: false
#
# Make sure that the heap size is set to about half the memory available
# on the system and that the owner of the process is allowed to use this
# limit.
#
# Elasticsearch performs poorly when the system is swapping the memory.
#
# ---------------------------------- Network -----------------------------------
#
# By default Elasticsearch is only accessible on localhost. Set a different
# address here to expose this node on the network:
#
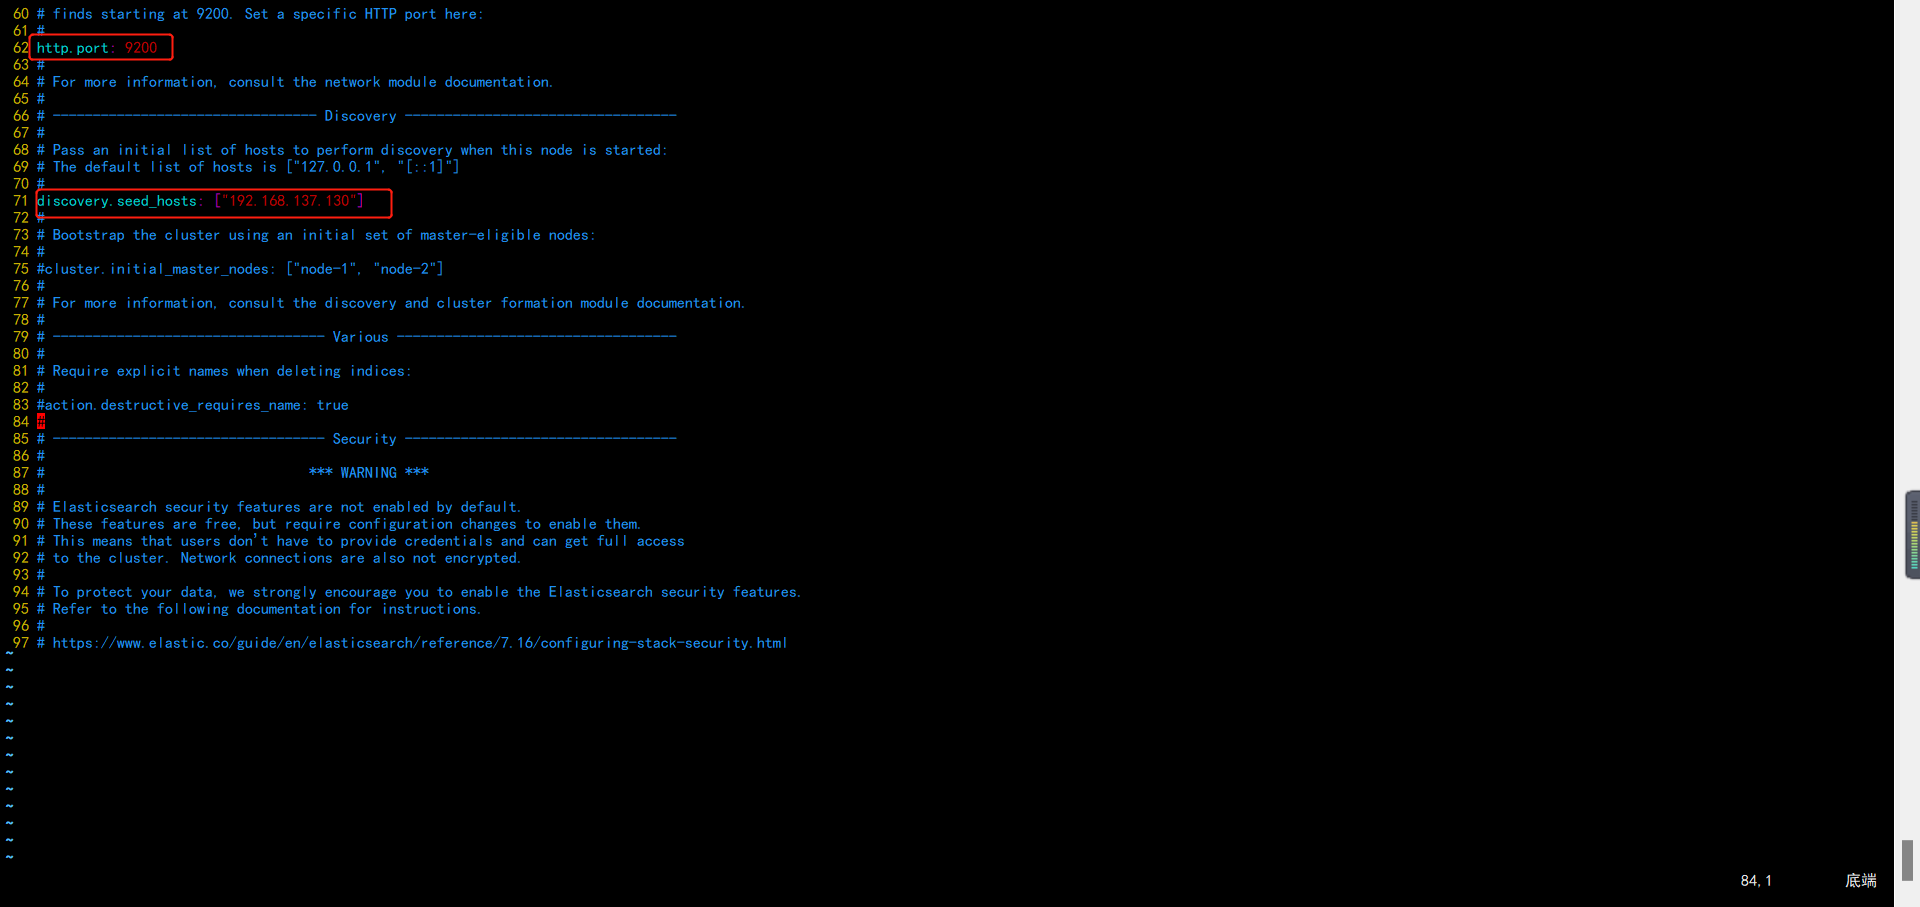
network.host: 192.168.137.130
#
# By default Elasticsearch listens for HTTP traffic on the first free port it
# finds starting at 9200. Set a specific HTTP port here:
#
http.port: 9200
#
# For more information, consult the network module documentation.
#
# --------------------------------- Discovery ----------------------------------
#
# Pass an initial list of hosts to perform discovery when this node is started:
# The default list of hosts is ["127.0.0.1", "[::1]"]
#
discovery.seed_hosts: ["192.168.137.130","192.168.137.102","192.168.137.103"]
discovery.zen.minimum_master_nodes: 2
#
# Bootstrap the cluster using an initial set of master-eligible nodes:
#
cluster.initial_master_nodes: ["node-1", "node-2"]
#
# For more information, consult the discovery and cluster formation module documentation.
#
# ---------------------------------- Various -----------------------------------
#
# Require explicit names when deleting indices:
#
#action.destructive_requires_name: true
#
# ---------------------------------- Security ----------------------------------
#
# *** WARNING ***
#
# Elasticsearch security features are not enabled by default.
# These features are free, but require configuration changes to enable them.
# This means that users don’t have to provide credentials and can get full access
# to the cluster. Network connections are also not encrypted.
#
# To protect your data, we strongly encourage you to enable the Elasticsearch security features.
# Refer to the following documentation for instructions.
#
# https://www.elastic.co/guide/en/elasticsearch/reference/7.16/configuring-stack-security.html
启动三台机器,则会自动选举出 master
3. 常用命令
# 查看健康状态
http://ip:9200/_cat/health?v# 查看集群索引数
http://ip:9200/_cat/indices?pretty# 查看索引中信息(sysnewses 为索引名)
http://ip:9200/sysnewses/_search# 集群所在磁盘的分配情况
http://ip:9200/_cat/allocation?v# 查看集群节点信息
http://ip:9200/_cat/nodes?v# 查看集群其他信息
http://ip:9200/_cat
4. Elasticsearch kibana安装
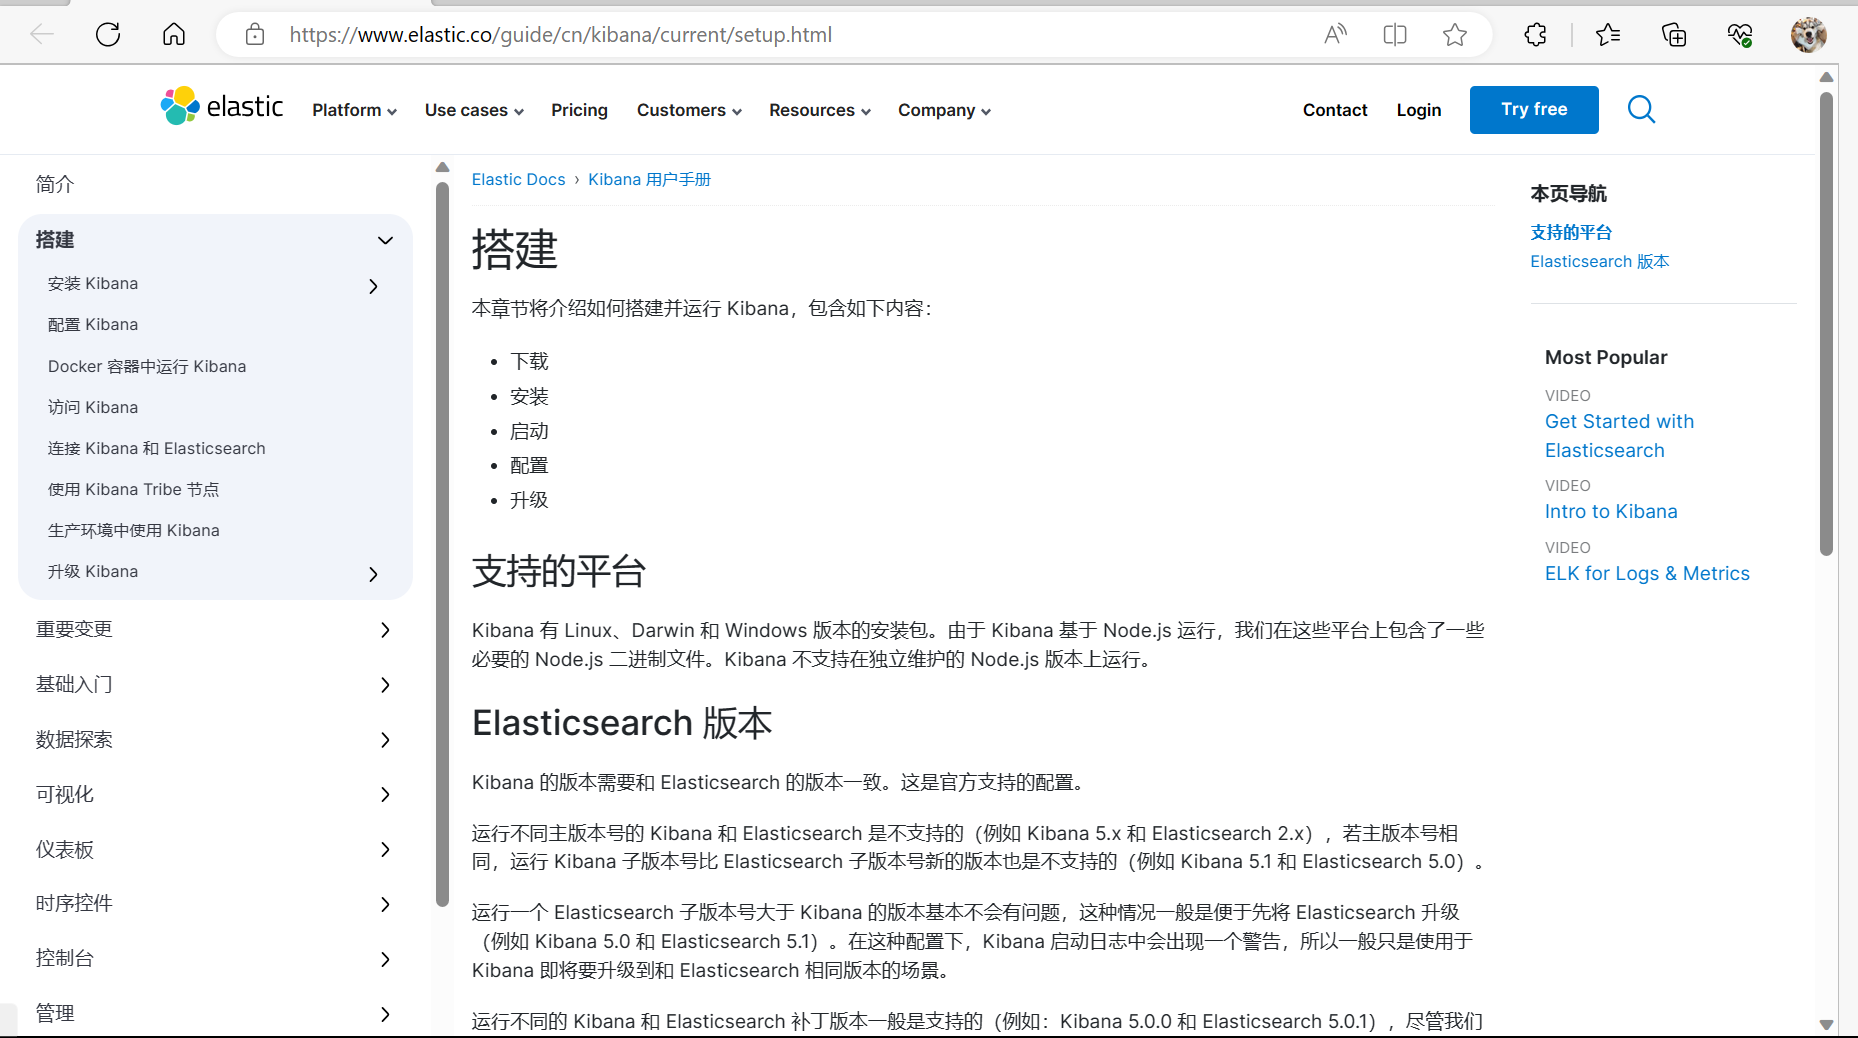
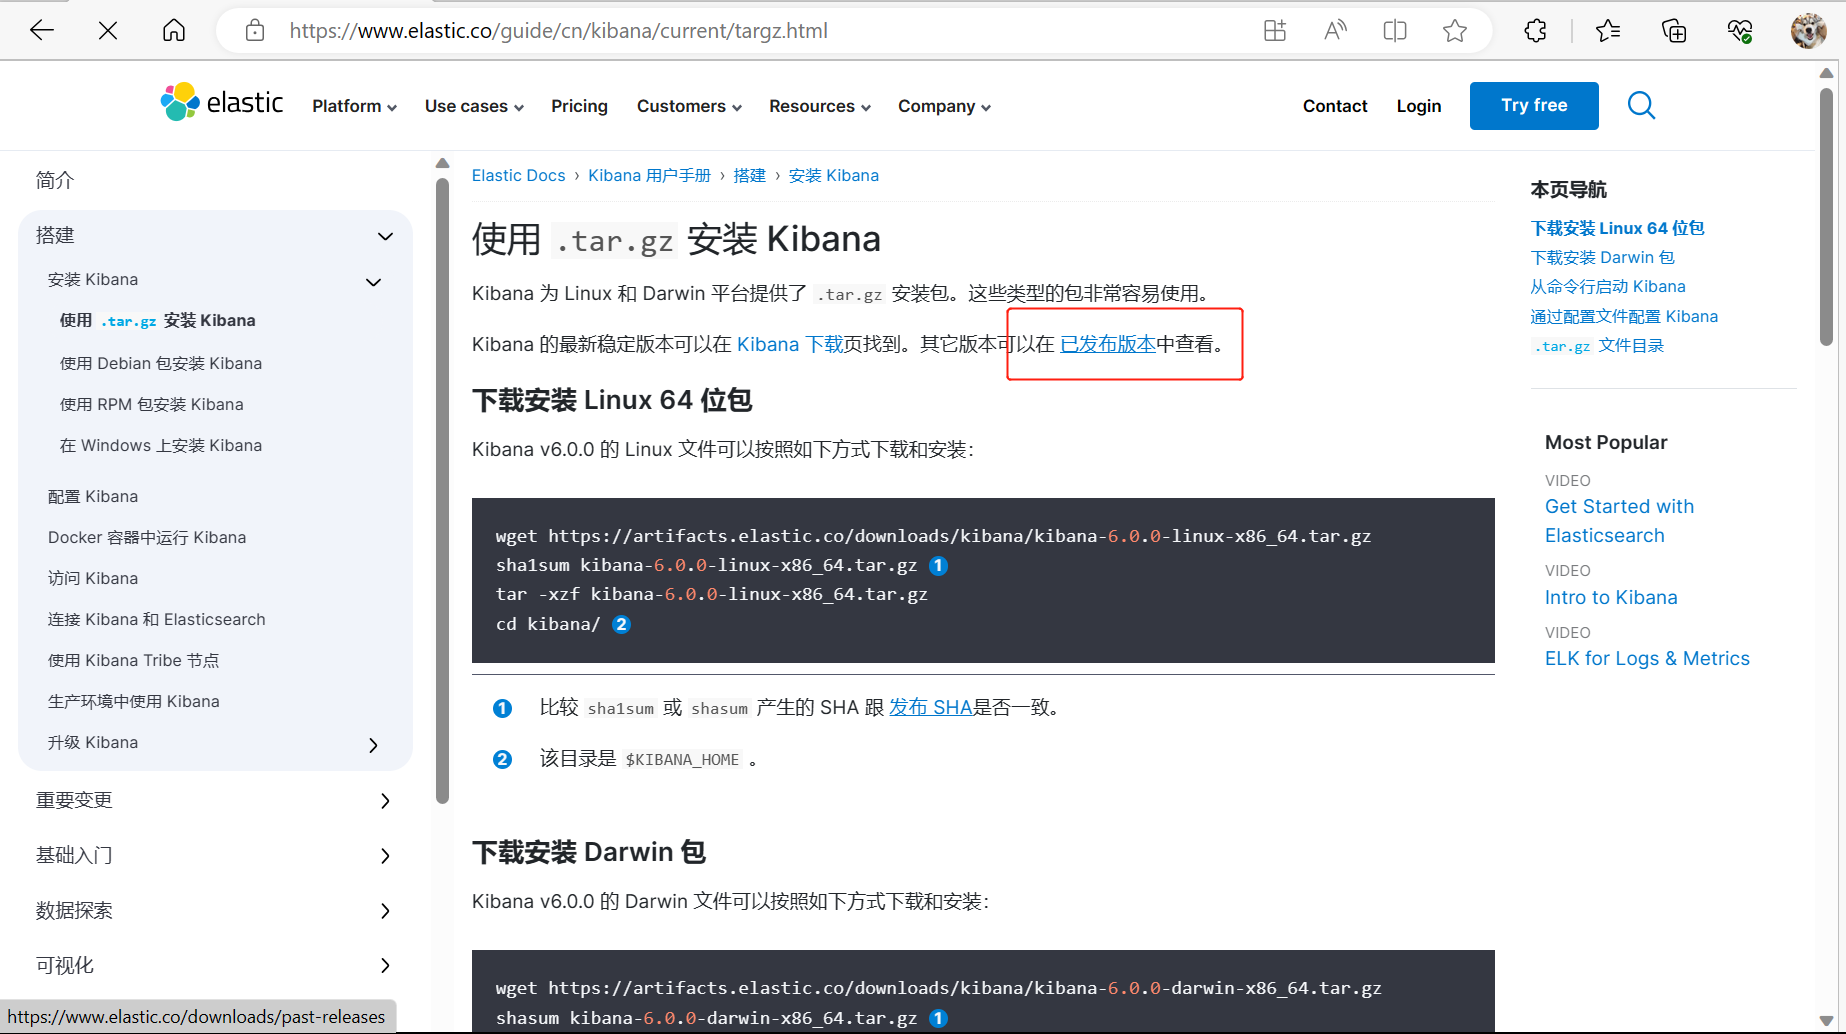
1️⃣ 参考部署文档
部署 elasticsearch kibana 参考 es 文档
https://www.elastic.co/guide/cn/kibana/current/setup.html
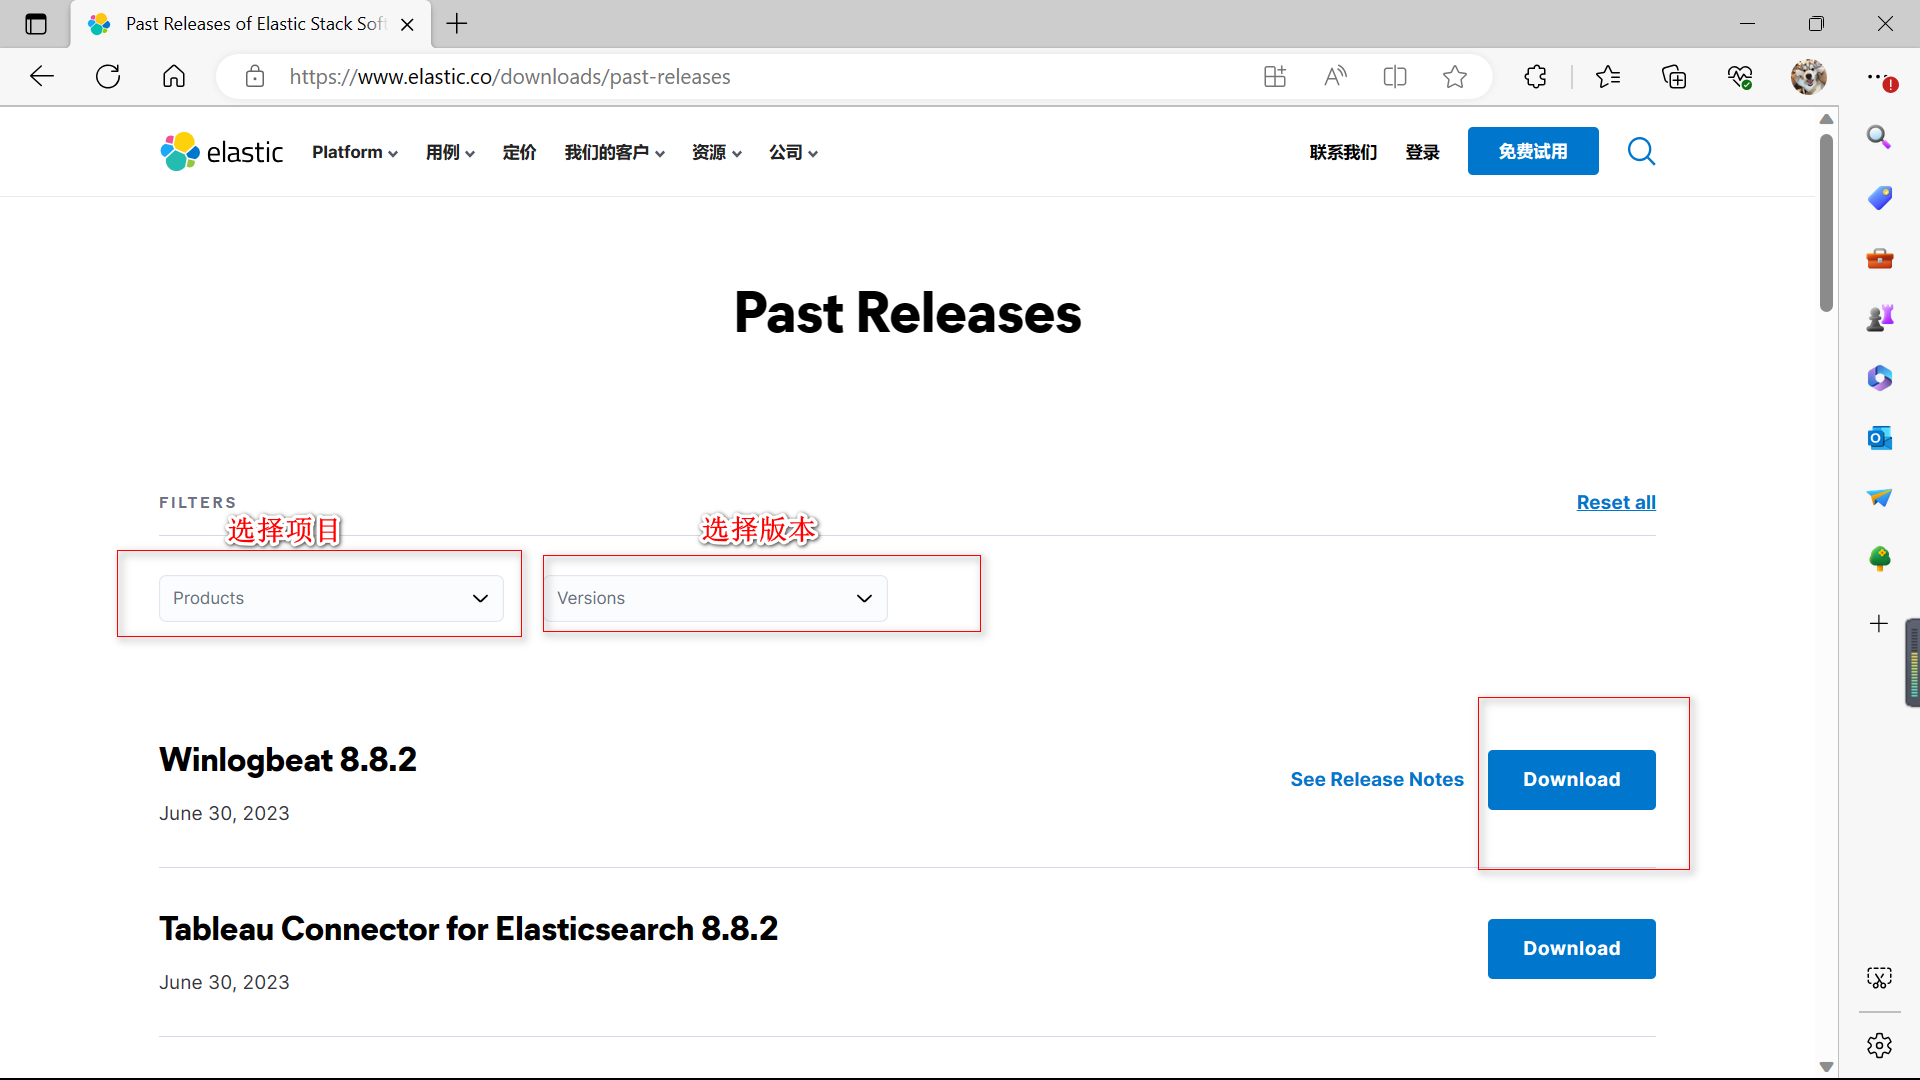
2️⃣ 下载对应版本的安装包
- 使用 Windows 下载
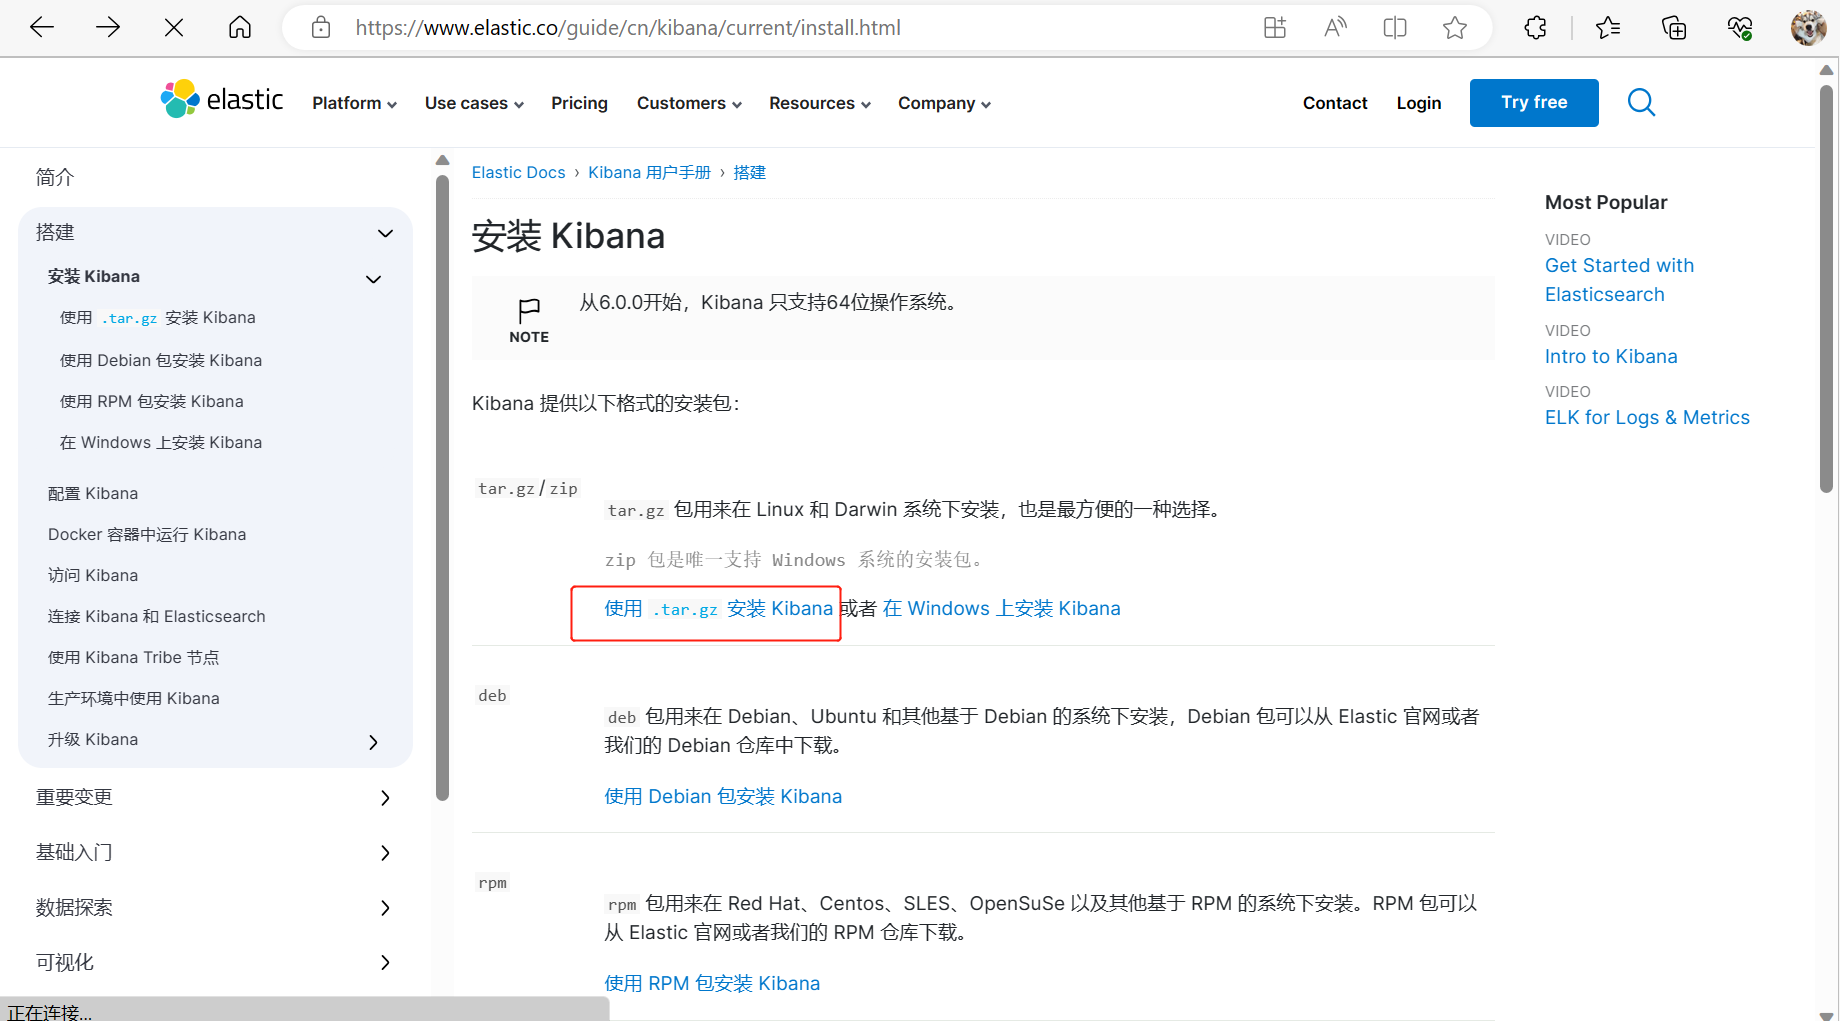
下载对应的版本
- 使用命令直接下载
# 下载指定版本
wget https://artifacts.elastic.co/downloads/kibana/kibana-7.17.1-linux-x86_64.tar.gz# 比较 sha1sum 或 shasum 产生的 SHA 跟 发布 SHA是否一致。用于核实文件的完整性,通常在网络传输文件的过程中,可能造成文件丢失,所以可以用来检查文件传输是否完整。
sha1sum kibana-7.17.1-linux-x86_64.tar.gz
# 668b599ce30a89e936899ba73e5ebde5481d47c4  kibana-7.17.1-linux-x86_64.tar.gz# 解压
tar -xzf kibana-6.0.0-linux-x86_64.tar.gz
cd kibana/
3️⃣ 修改配置文件
vim /data/kibana-7.17.1-linux-x86_64/config# 默认值: 5601 Kibana 由后端服务器提供服务,该配置指定使用的端口号。
server.port: 5601
# 默认值: "localhost" 指定后端服务器的主机地址。
server.host: "192.168.137.130"
# 默认值: 1048576 服务器请求的最大负载,单位字节。
server.maxPayload: 1048576
# 默认值: "主机名" Kibana 实例对外展示的名称。
server.name: "demo-elastic"
# ES 集群地址
elasticsearch.hosts: ["http://192.168.137.130:9200"]
# 默认值: ".kibana" Kibana 使用 Elasticsearch 中的索引来存储保存的检索,可视化控件以及仪表板。如果没有索引,Kibana 会创建一个新的索引。
kibana.index: ".kibana"
# elasticsearch.requestTimeout setting 的值,等待 Elasticsearch 的响应时间。(这里设置的较大,机器性能不行,kibana启动较慢)
# 如果使用默认值,则启动时会报错,请求超时。
elasticsearch.pingTimeout: 12000
# 30000 等待后端或 Elasticsearch 的响应时间,单位微秒,该值必须为正整数。(这里设置的较大,机器性能不行,kibana启动较慢)
elasticsearch.requestTimeout: 120000
# Elasticsearch 等待分片响应时间,单位微秒,0即禁用(disabled)
elasticsearch.shardTimeout: 0
# 默认为 en ,修改为中文 zh-CN
i18n.locale: "zh-CN"
4️⃣ 启动 kibana
- 直接启动
# 进入到安装目录的 bin 目录下
cd /data/kibana-7.17.1-linux-x86_64/bin
# 直接前台启动./kibana
# 使用 Ctrl + c 则可以直接关闭
- 后台启动(推荐)
# 进入到安装目录的 bin 目录下
cd /data/kibana-7.17.1-linux-x86_64/bin
# 使用 nohup 命令后台启动
# 也可以将日志打印到指定路径下 nohup ./kibana > /data/kibana-7.17.1-linux-x86_64/logs/kibana.log 2>&1 &
nohup ./kibana &
- 关闭 kibana
ps -ef | grep node | grep -v grep
elastic    2077   1206  6 15:17 pts/0    00:01:24 ./../node/bin/node ./../src/cli/distkill -9 2077
5️⃣ 注意
- 将
elasticsearch.pingTimeout和elasticsearch.requestTimeout修改为较大的值,如是使用默认的参数3000则在启动时可能是因为机器性能问题导致报错FATAL TimeoutError: Request timed out“请求超时”- 注意修改
elasticsearch参数cluster.initial_master_nodes内容,如果这里没有配置,则会导致 ES 健康检查有问题,访问kibana时提示 “{“error”:{“root_cause”:[{“type”:“master_not_discovered_exception”,“reason”:null}],“type”:“master_not_discovered_exception”,“reason”:null},“status”:503}”
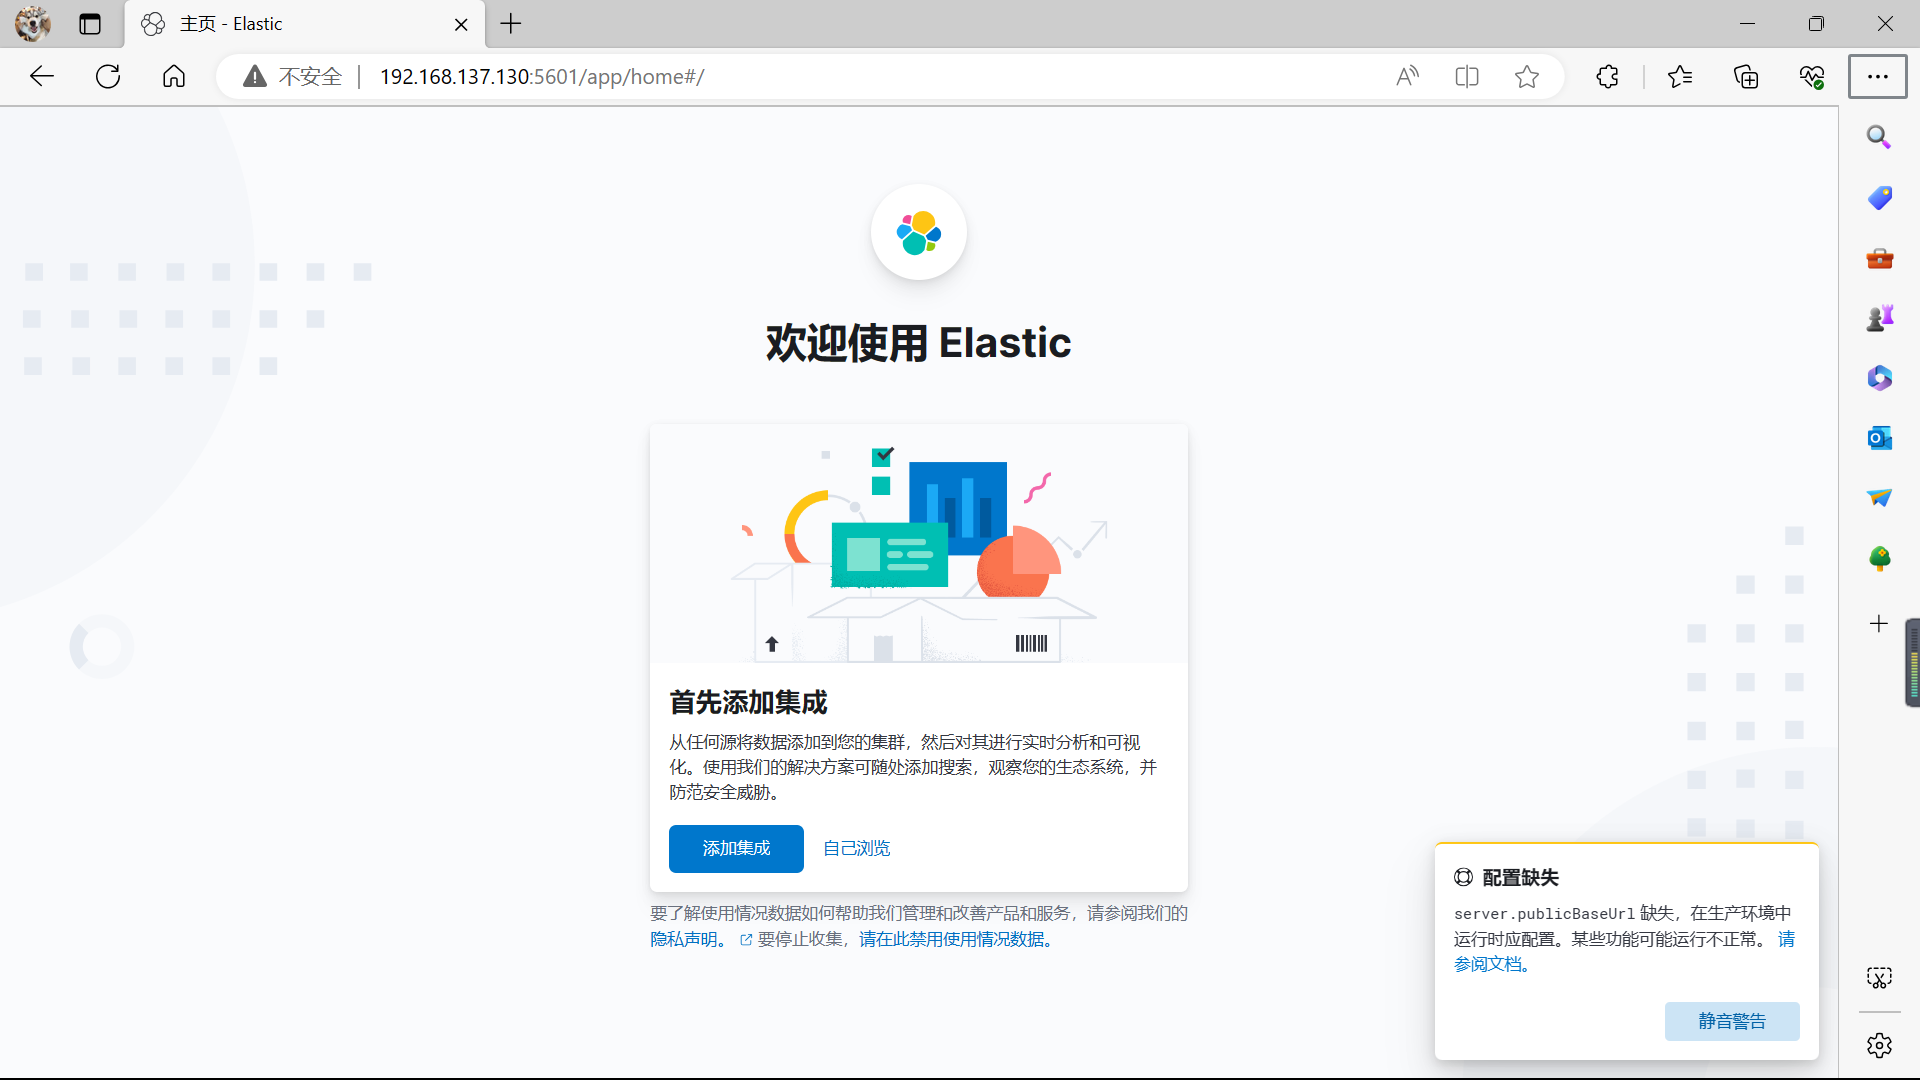
6️⃣ 浏览器访问
浏览器输入 kibana 的 ip:host 即可访问
在kibana6.7之后就开始支持中文,所以这里在配置文件中配置了 i18n.locale: “zh-CN” 参数,界面显示则为中文
5. kibana 使用教程
…未完待续