做现货黄金看什么网站全网营销推广
目录
1.官网文档
2.安装步骤
2.1 环境准备
2.2 添加用户
2.3 修改文件profile文件
2.4 修改elasticsearch.yml
2.5 修改 sysctl.conf
3.启动
3.1 切换到kibana
3.2 启动elasticsearch
3.3 启动kibana
3.4 验证节点情况
1.官网文档
elasticsearch文档:https://www.elastic.co/guide/en/elasticsearch/reference/8.9/targz.html
kibana文档:https://www.elastic.co/guide/en/kibana/current/targz.html
2.安装步骤
无登录密码方式
2.1 环境准备
centos8 +linux
若无shasum,可以先安装
bash: shasum: 未找到命令
[root@localhost apps]# sudo yum install -y perl-Digest-SHA-1:6.02-1.el8.x86_64
[root@localhost apps]# sudo yum install -y perl-Digest-SHA
三台虚拟机或者linux服务器(docker方式此处不在描述):
192.168.23.12 master
192.168.23.13 slave
192.168.23.14 slave
下载文件进行解压(下载速度稍微有点慢):
[root@localhost apps] wget https://artifacts.elastic.co/downloads/elasticsearch/elasticsearch-8.8.2-linux-x86_64.tar.gz
[root@localhost apps] wget https://artifacts.elastic.co/downloads/elasticsearch/elasticsearch-8.8.2-linux-x86_64.tar.gz.sha512
[root@localhost apps] shasum -a 512 -c elasticsearch-8.8.2-linux-x86_64.tar.gz.sha512
[root@localhost apps] tar -xzf elasticsearch-8.8.2-linux-x86_64.tar.gz
kbana在主节点上下载即可,其他机器可以不用(集群例外)
[root@localhost apps]# wget https://artifacts.elastic.co/downloads/kibana/kibana-8.9.1-linux-x86_64.tar.gz
[root@localhost apps]# curl https://artifacts.elastic.co/downloads/kibana/kibana-8.9.1-linux-x86_64.tar.gz.sha512 | shasum -a 512 -c -
[root@localhost apps]# tar -xzf kibana-8.9.1-linux-x86_64.tar.gz
2.2 添加用户
elasticsearch启动不允许使用root用户导致
[root@localhost elasticsearch-8.8.2]# useradd kibana
[root@localhost elasticsearch-8.8.2]# passwd kibana
2.3 修改文件profile文件
三台机器操作
添加ES_JAVA_HOME elasticsearch下自带有openjdk
[root@localhost apps]# vim /etc/profile
export ES_JAVA_HOME=/usr/local/apps/elasticsearch-8.9.1/jdk
[root@localhost apps]# source /etc/profile
2.4 修改elasticsearch.yml
/usr/local/apps/elasticsearch-8.9.1/config/
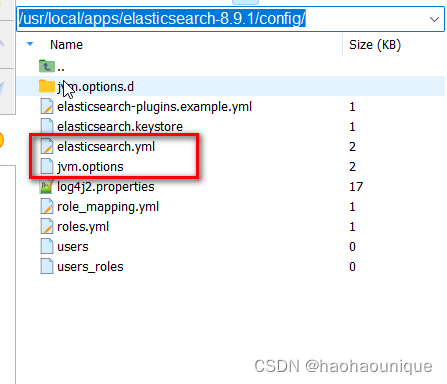
注意data和logs节点需要自己建文件夹
xpack.security.enabled: false 默认这个配置是开启的,配置文件中没有,启动后如果正常一般有一堆的安全配置属性也包括这个(xpack.security.enabled: true),配置就麻烦很多,而且kibana登录时也要配置
主节点
# ======================== Elasticsearch Configuration =========================
#
# NOTE: Elasticsearch comes with reasonable defaults for most settings.
# Before you set out to tweak and tune the configuration, make sure you
# understand what are you trying to accomplish and the consequences.
#
# The primary way of configuring a node is via this file. This template lists
# the most important settings you may want to configure for a production cluster.
#
# Please consult the documentation for further information on configuration options:
# https://www.elastic.co/guide/en/elasticsearch/reference/index.html
#
# ---------------------------------- Cluster -----------------------------------
#
# Use a descriptive name for your cluster:
#
#cluster.name: elastisearch
#
# ------------------------------------ Node ------------------------------------
#
# Use a descriptive name for the node:
#
node.name: node-1
#
# Add custom attributes to the node:
#
node.attr.rack: r1
#
# ----------------------------------- Paths ------------------------------------
#
# Path to directory where to store the data (separate multiple locations by comma):
#
path.data: /usr/local/apps/esdata/data
#
# Path to log files:
#
path.logs: /usr/local/apps/esdata/logs
#
# ----------------------------------- Memory -----------------------------------
#
# Lock the memory on startup:
#
#bootstrap.memory_lock: true
#
# Make sure that the heap size is set to about half the memory available
# on the system and that the owner of the process is allowed to use this
# limit.
#
# Elasticsearch performs poorly when the system is swapping the memory.
#
# ---------------------------------- Network -----------------------------------
#
# By default Elasticsearch is only accessible on localhost. Set a different
# address here to expose this node on the network:
#
network.host: 192.168.23.12
#
# By default Elasticsearch listens for HTTP traffic on the first free port it
# finds starting at 9200. Set a specific HTTP port here:
#
http.port: 9200
#
# For more information, consult the network module documentation.
#
# --------------------------------- Discovery ----------------------------------
#
# Pass an initial list of hosts to perform discovery when this node is started:
# The default list of hosts is ["127.0.0.1", "[::1]"]
#
discovery.seed_hosts: ["192.168.23.13:9300", "192.168.23.14:9300"]
#
# Bootstrap the cluster using an initial set of master-eligible nodes:
#
cluster.initial_master_nodes: ["node-1"]
#
# For more information, consult the discovery and cluster formation module documentation.
#
# ---------------------------------- Various -----------------------------------
#
# Allow wildcard deletion of indices:
#
action.destructive_requires_name: falsexpack.security.enabled: false
节点2
修改一下
network.host: 192.168.23.13
discovery.seed_hosts: ["192.168.23.12:9300", "192.168.23.14:9300"]
cluster.initial_master_nodes: ["node-1"]
节点3
network.host: 192.168.23.14
discovery.seed_hosts: ["192.168.23.12:9300", "192.168.23.13:9300"]
cluster.initial_master_nodes: ["node-1"]
几台机器都修改jvm.options文件
-Xms512M
-Xmx512M
2.5 修改 sysctl.conf
Virtual memory | Elasticsearch Guide [8.9] | Elastic
[root@localhost apps]#vim /etc/sysctl.conf
vm.max_map_count=262144
[root@localhost apps]# sysctl -p
2.6 修改kibana下的
/usr/local/apps/kibana-8.9.1/config/kibana.yml
server.port: 5601
server.host: "192.168.23.12"
3.启动
3.1 切换到kibana
如果遇到权限问题
可以使用root用户赋权,如: chown -R kibana kibana /usr/local/apps/elasticsearch-8.9.1
[root@localhost elasticsearch-8.9.1]# su kibana
3.2 启动elasticsearch
[kibana@localhost bin]$ /usr/local/apps/elasticsearch-8.9.1/bin/elasticsearch
三台启动完成后,在主节点上启动
3.3 启动kibana
[kibana@localhost bin]$ /usr/local/apps/kibana-8.9.1/bin/kibana
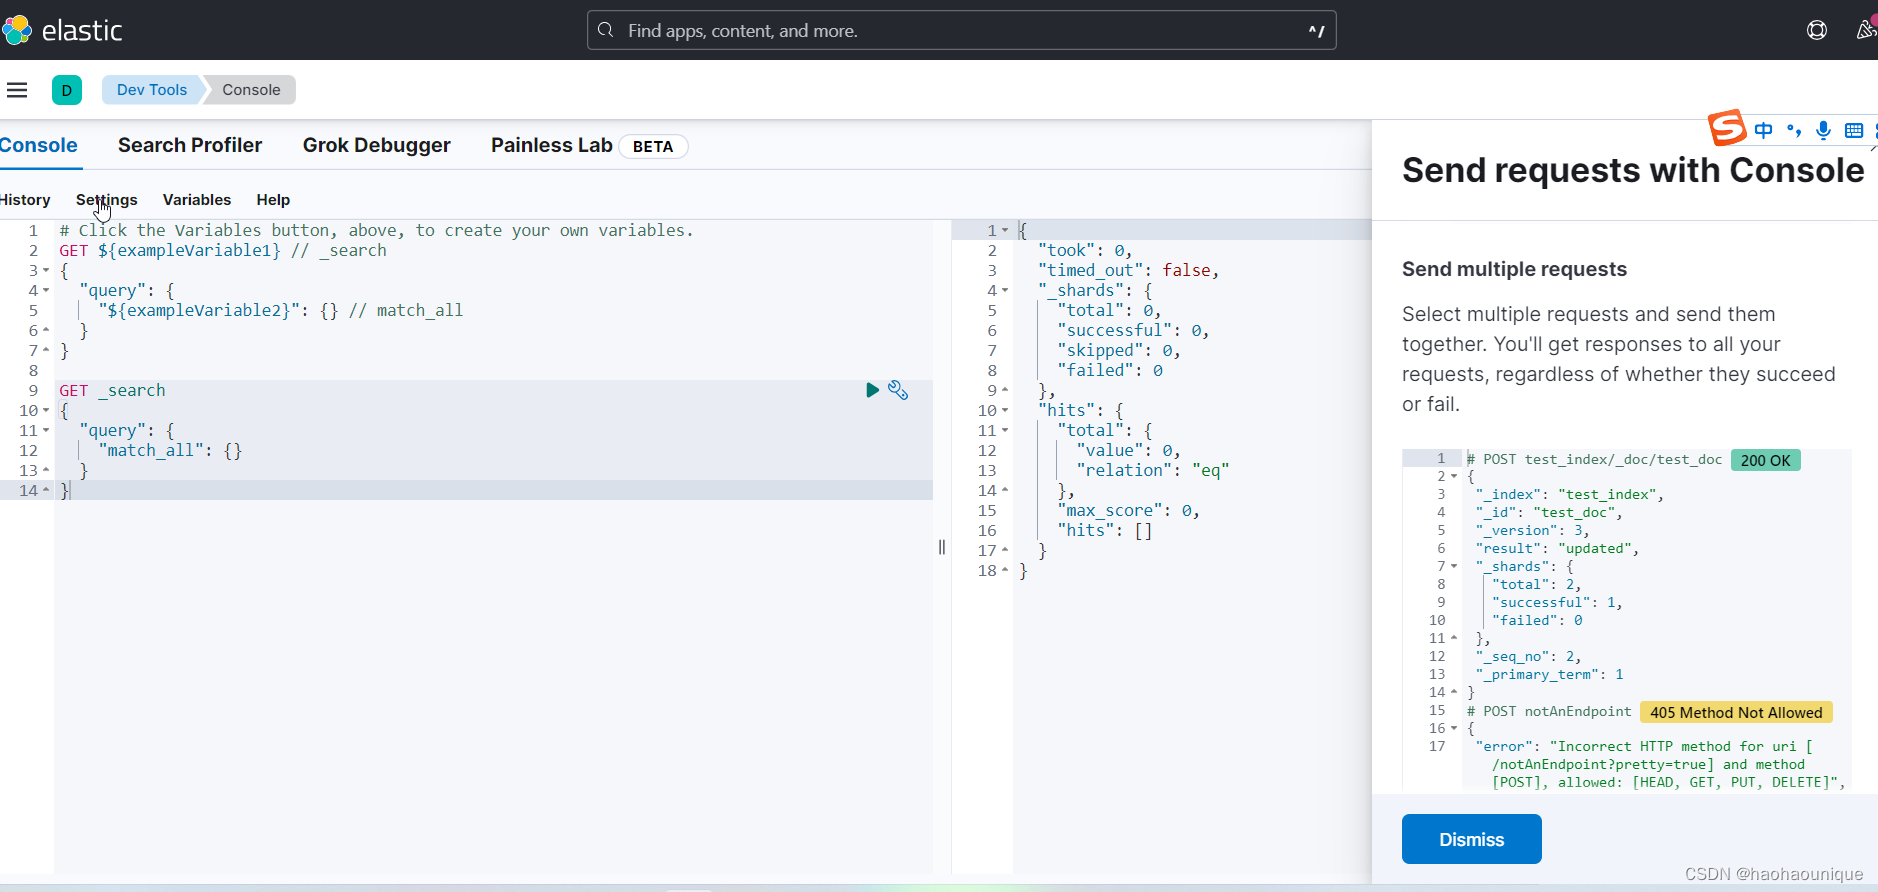
初次启动需要在浏览器上访问一下控制台打的URL,然后才能正常访问
http://192.168.23.12:5601/
3.4 验证节点情况
http://192.168.23.13:9200/_cat/nodes
192.168.23.12 19 92 4 0.09 0.31 0.27 cdfhilmrstw - node-1
192.168.23.14 30 92 4 0.02 0.22 0.19 cdfhilmrstw - node-3
192.168.23.13 30 92 6 0.05 0.31 0.24 cdfhilmrstw * node-2